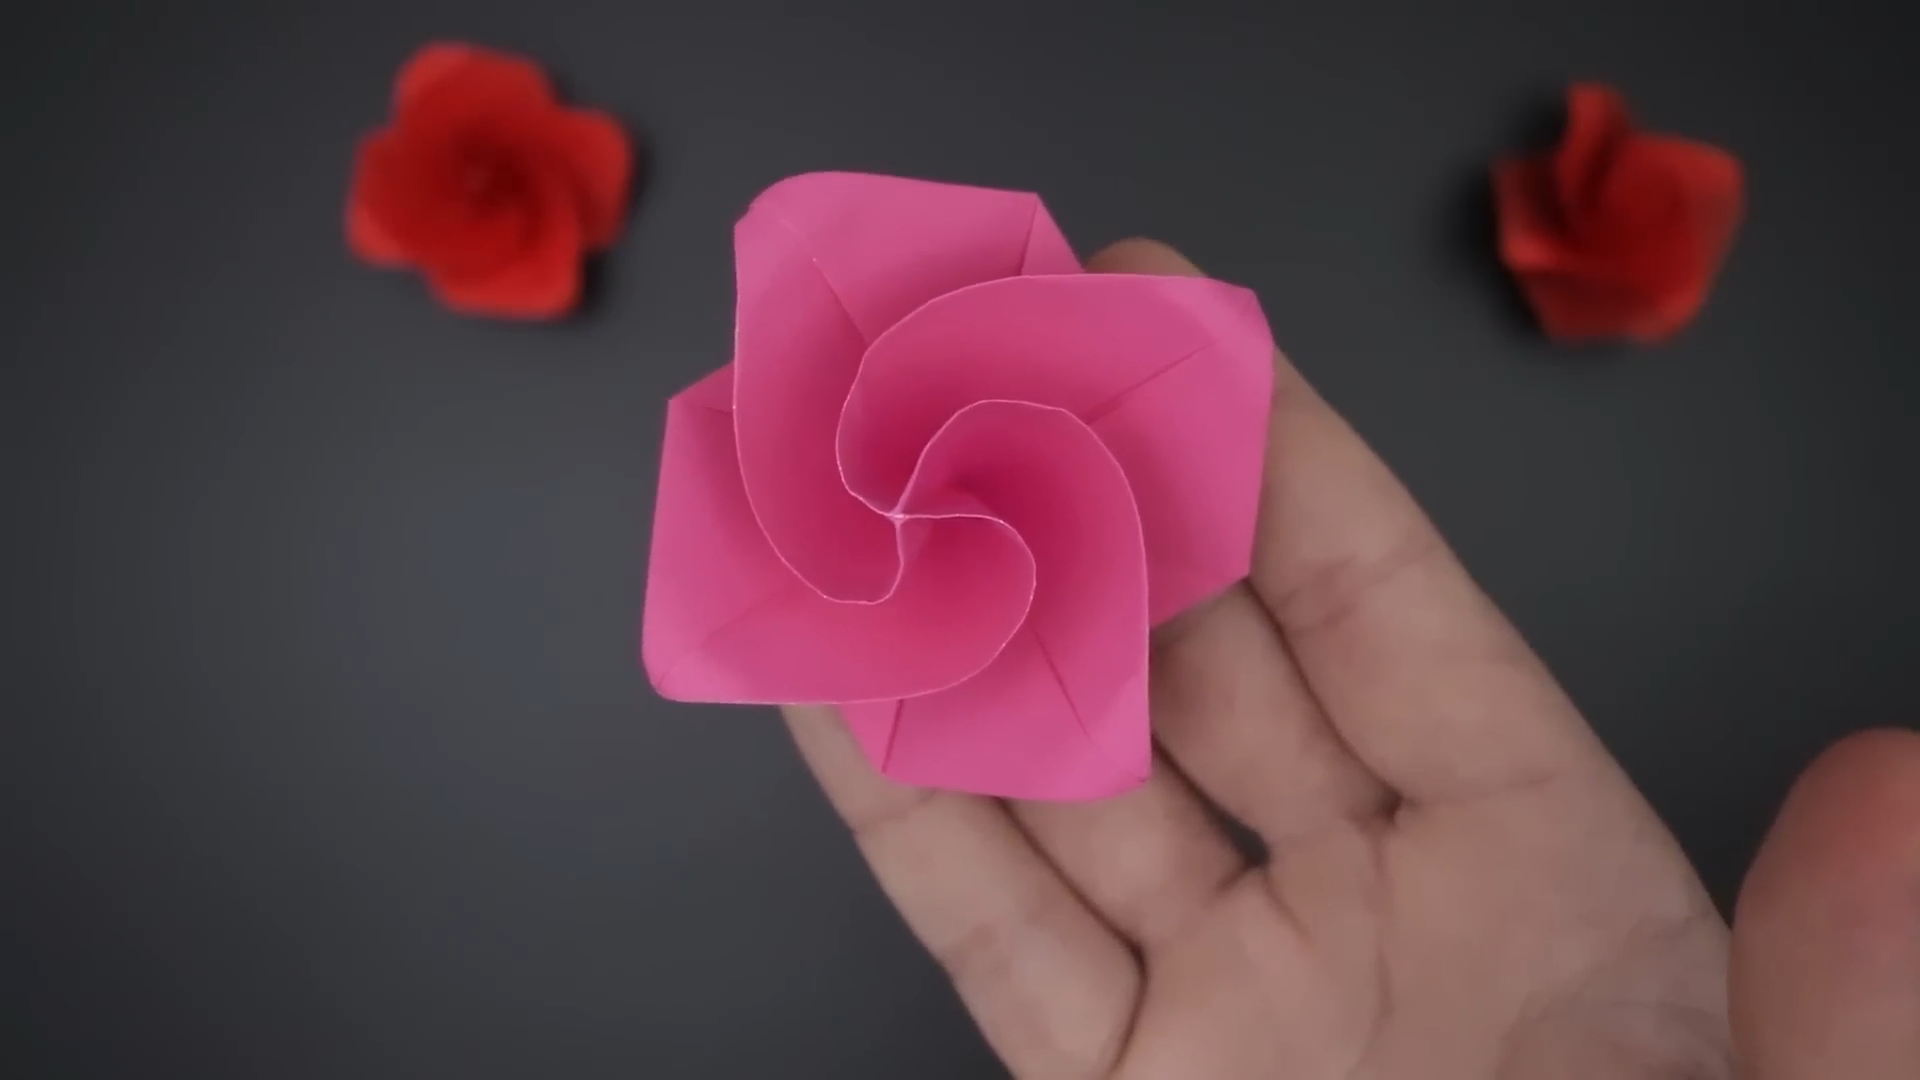
Here's an easy tutorial for a fun paper craft for the holiday! Follow along with the audio guide below.
Matierials
This tutorial requires minimal materials:
square paper
Scissors (optional for non-square paper)
Pencil or Skewer
Instructions
Set-up
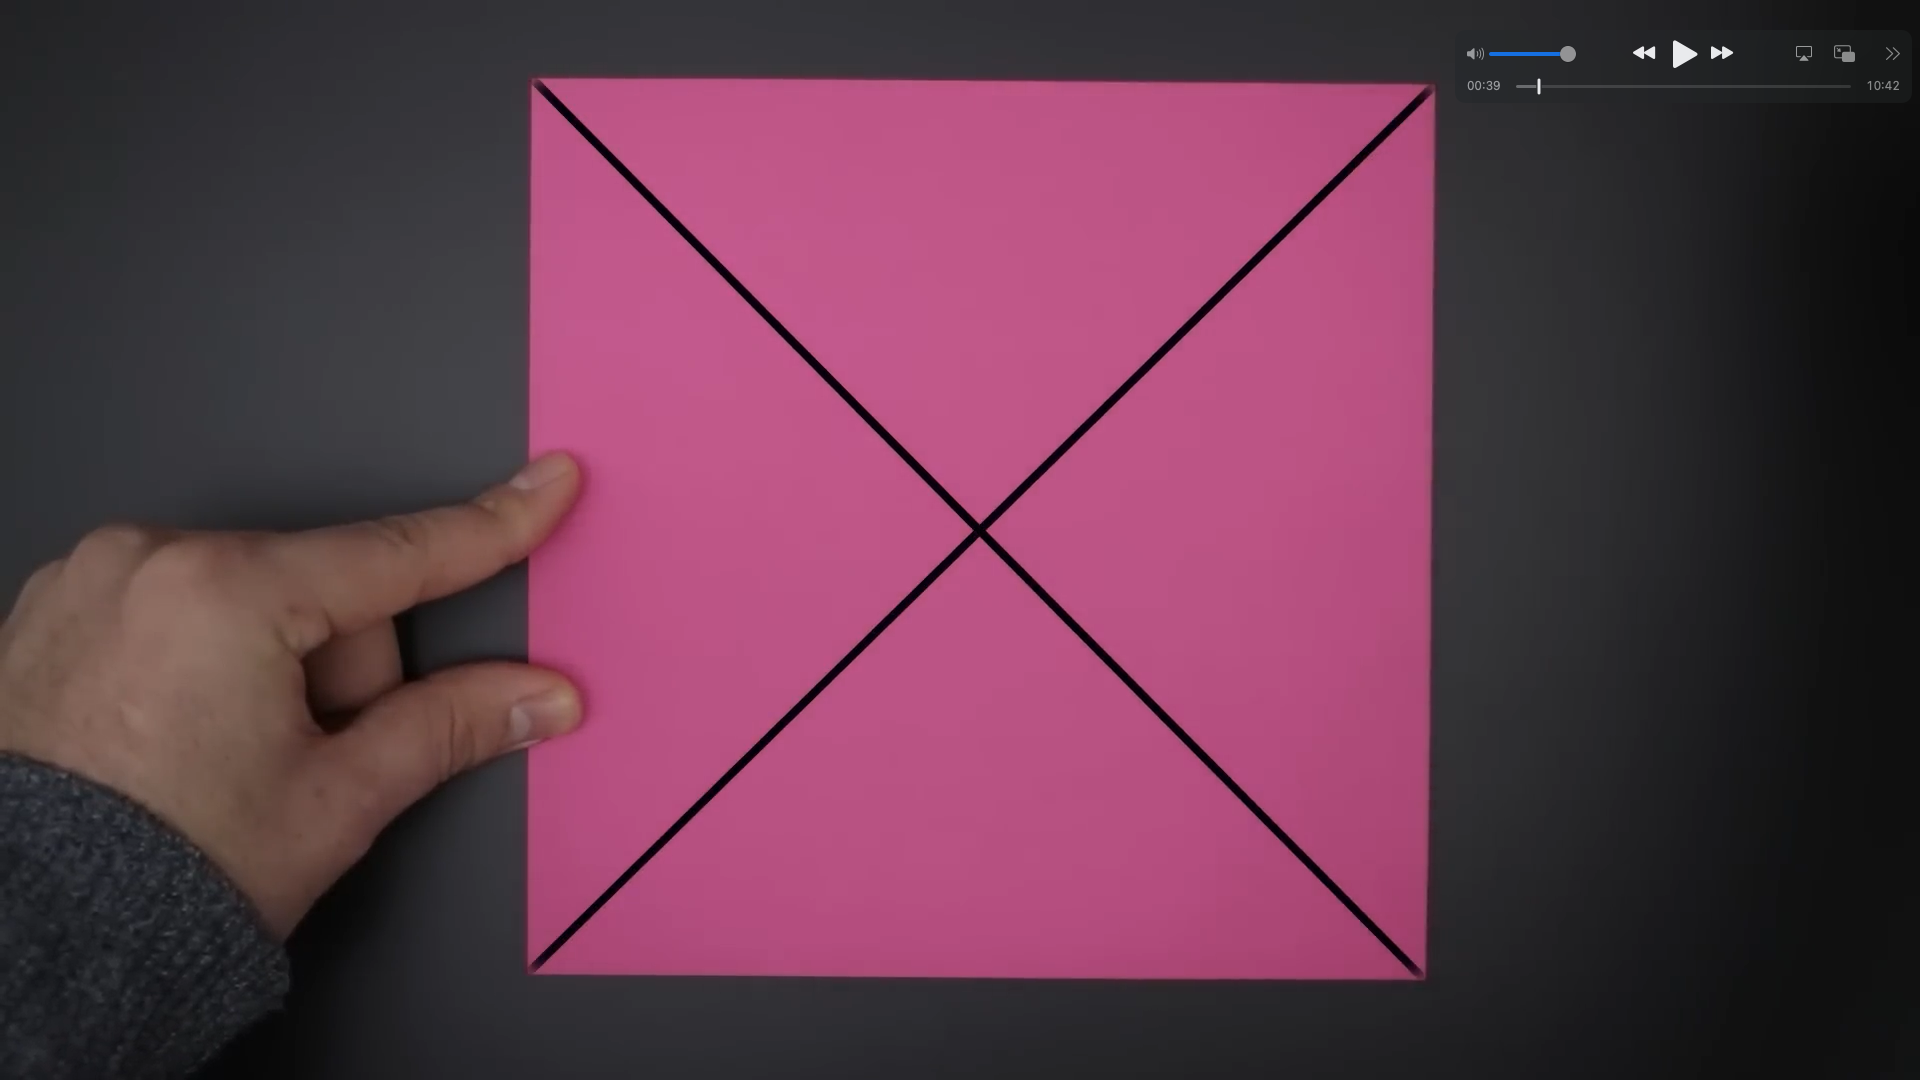
The first step of the origami rose is the set-up folds. If your paper is rectangular, scissors will come in handy to fix this.
First, fold one of the corners diagonally. If your paper is rectangular, cut the excess paper off to make it square. Unfold the previous fold and repeat with the other corner, so that there is an X on your paper.
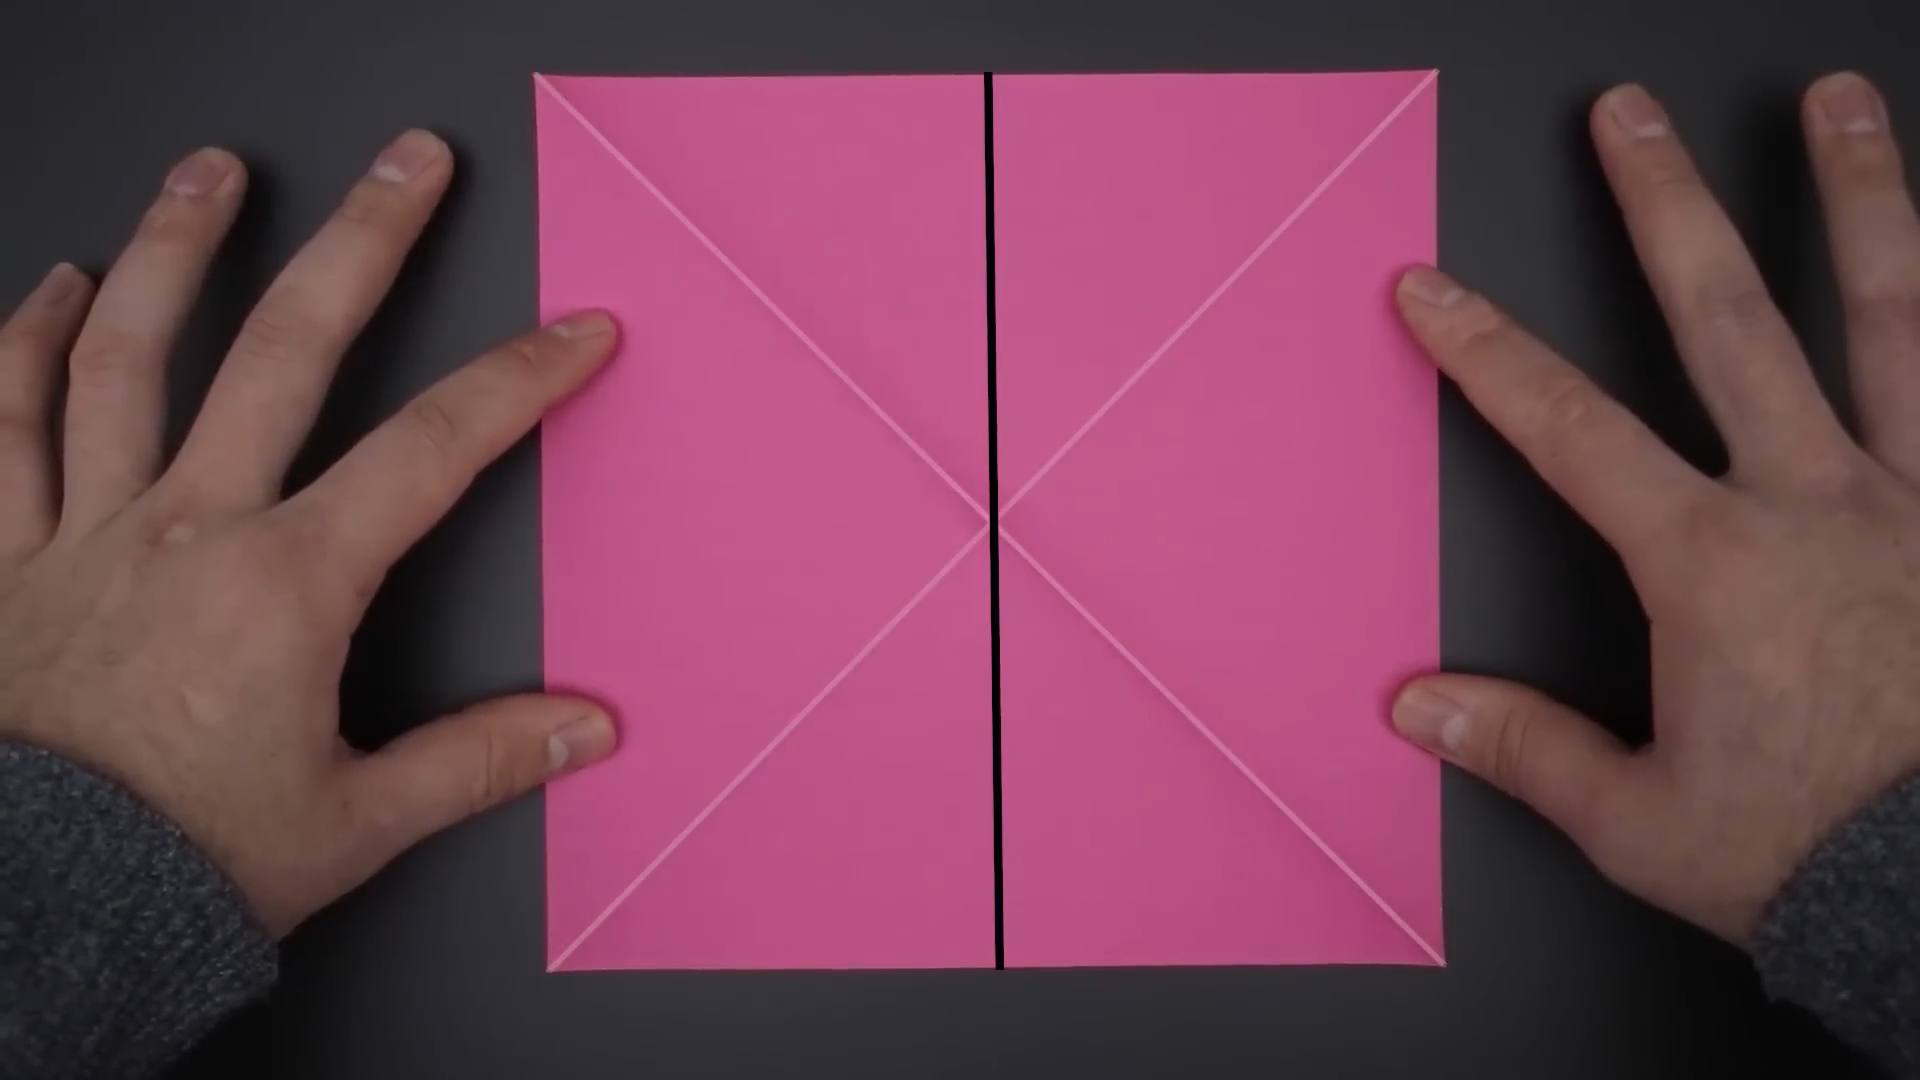
Next, flip the paper over so that the creases are pointing upwards(like mountains). Fold the paper in half vertically, bringing the left side to touch the right, and unfold.
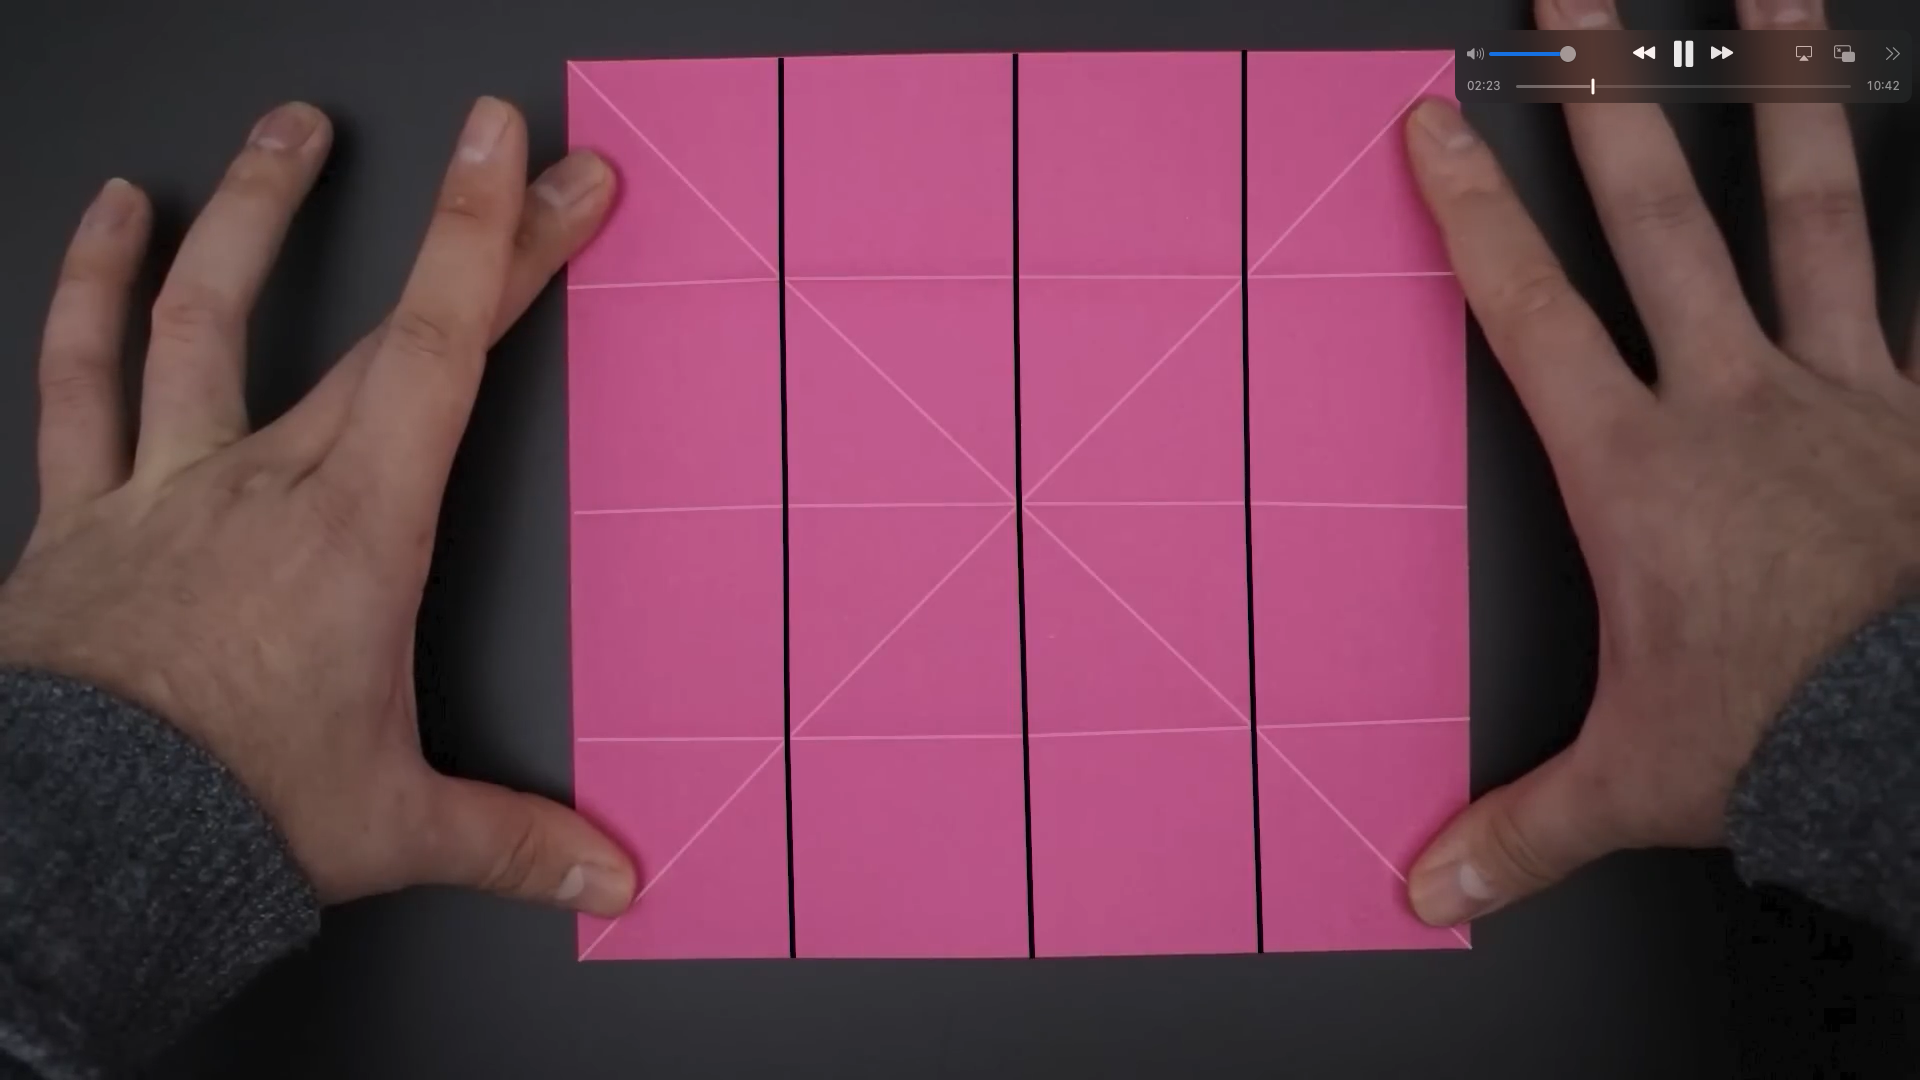
Divide each of these sections in half vertically, bringing the right and left sides of the paper toward the center line you made in the previous step. This should leave you with 4 parallel sections.
Rotate the paper 90 degrees so the vertical lines are now horizontal, and repeat the previous 2 steps to create 4 parallel sections, leaving you with 16 equal squares across the paper.
Assembly
Let's continue with our rose. Now that we have the base folds, lets start to assemble the flow base.
Begin by folding each the corner squares down diagonally, making an octogon shape.
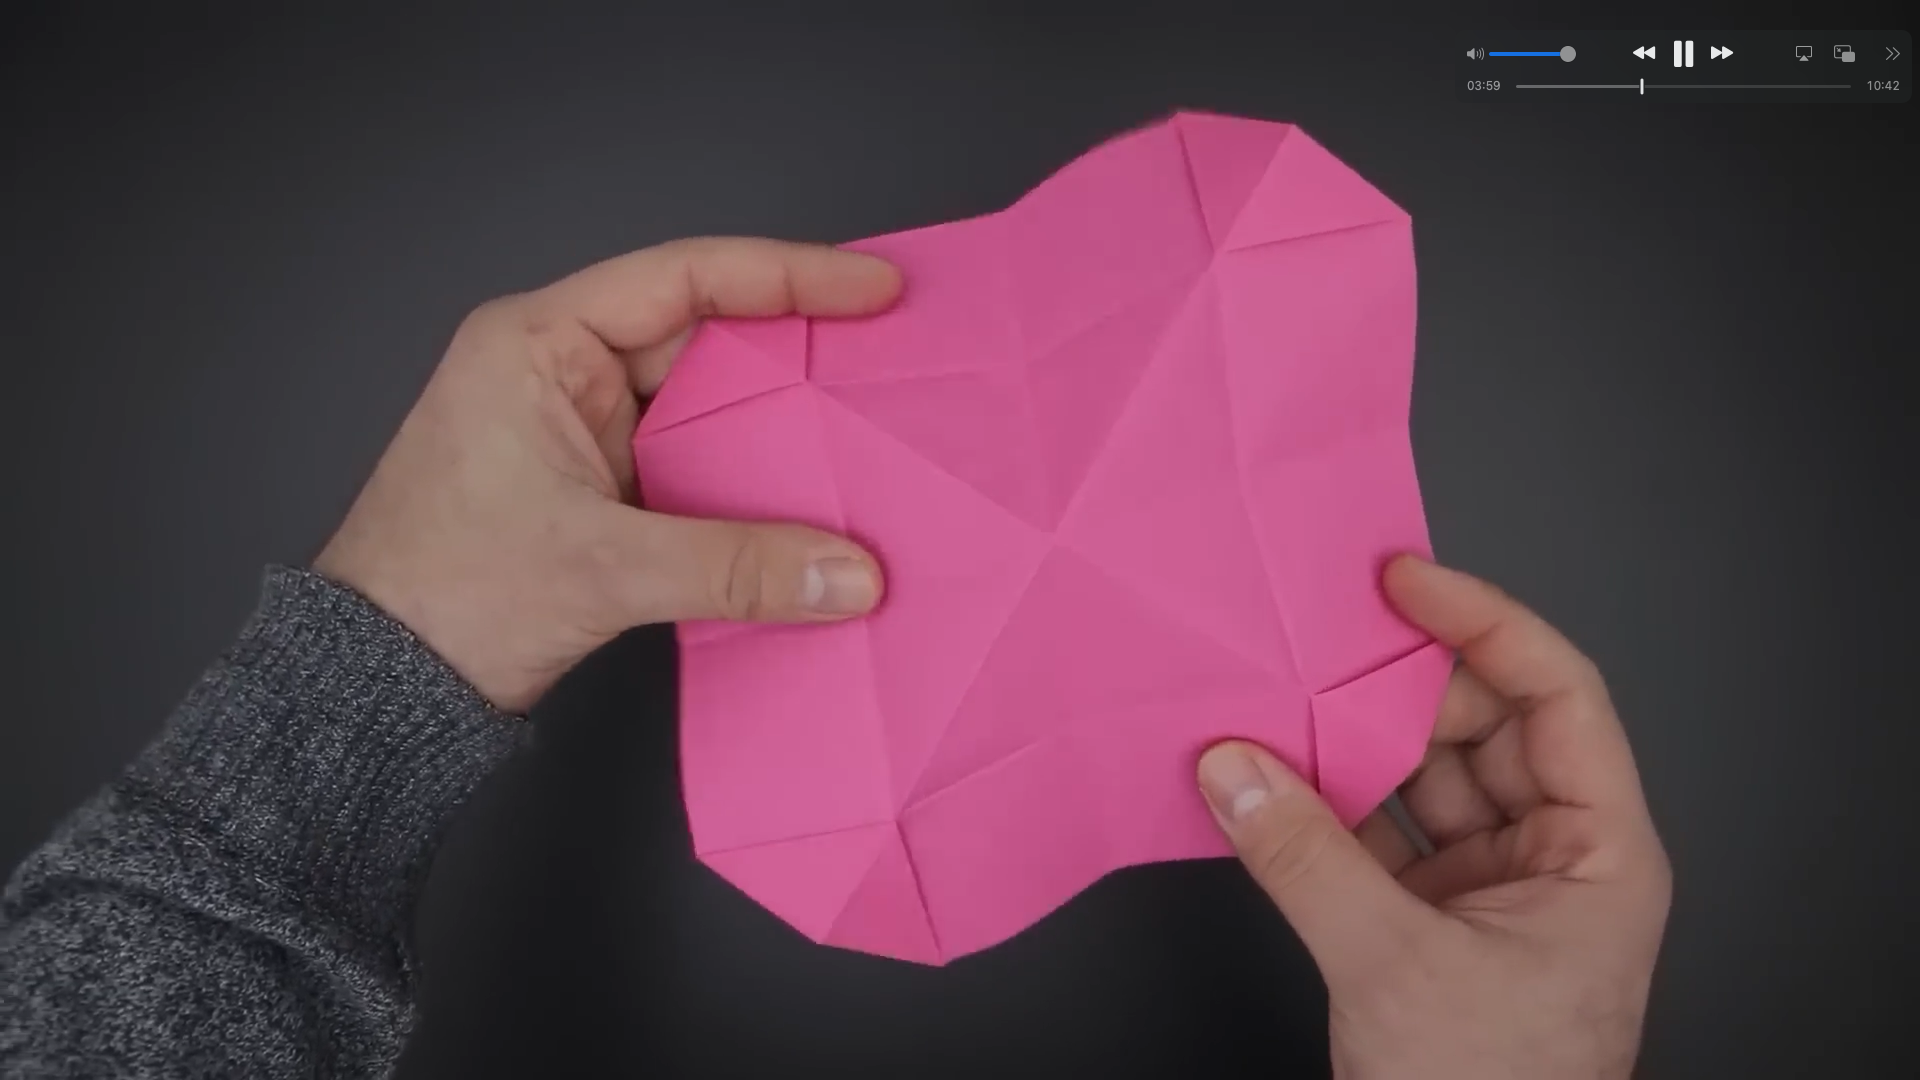
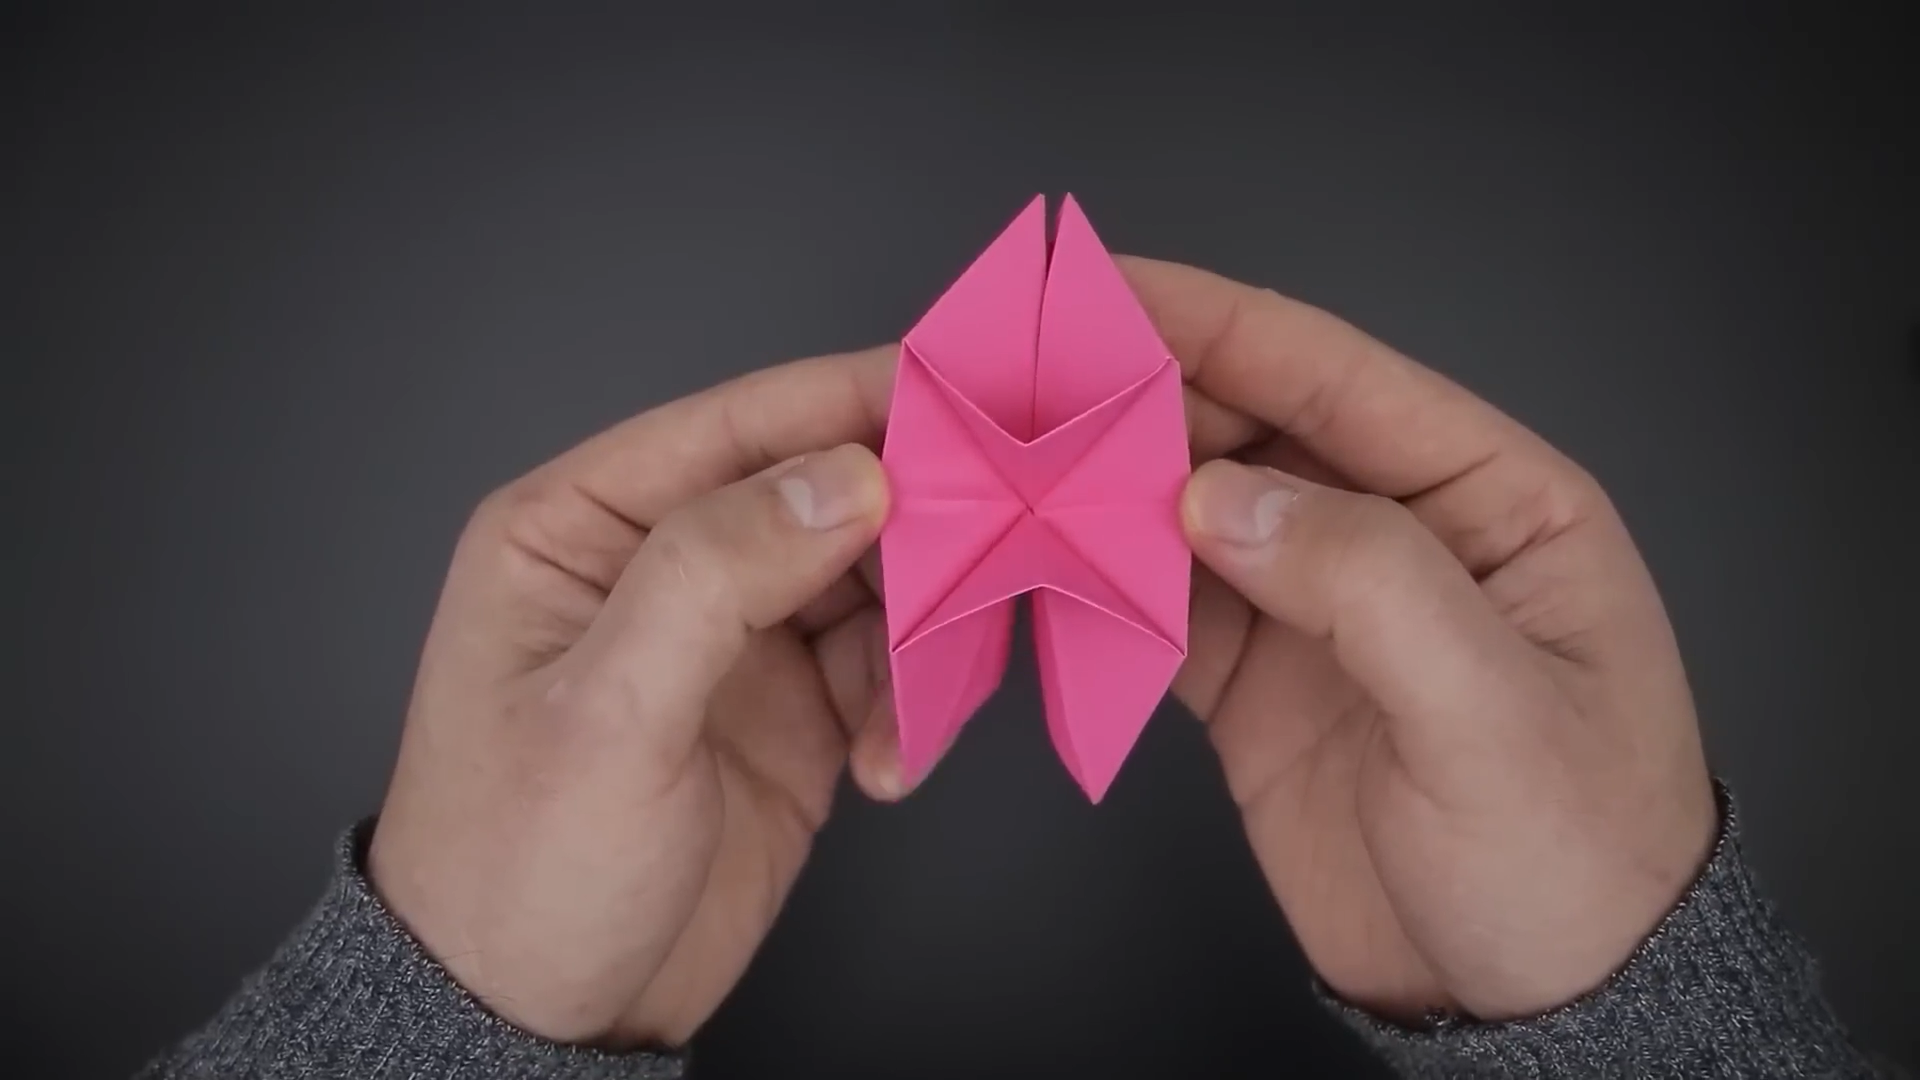
Next we will bring together the horizontal and vertical center folds of the paper by first folding the triangles we made in the previous step in half, ensuring the diagnoal folds remain pointing upward. The center folds of the paper will naturally gather underneath. Flatten the paper until we end up with an upside-down diamond shape.
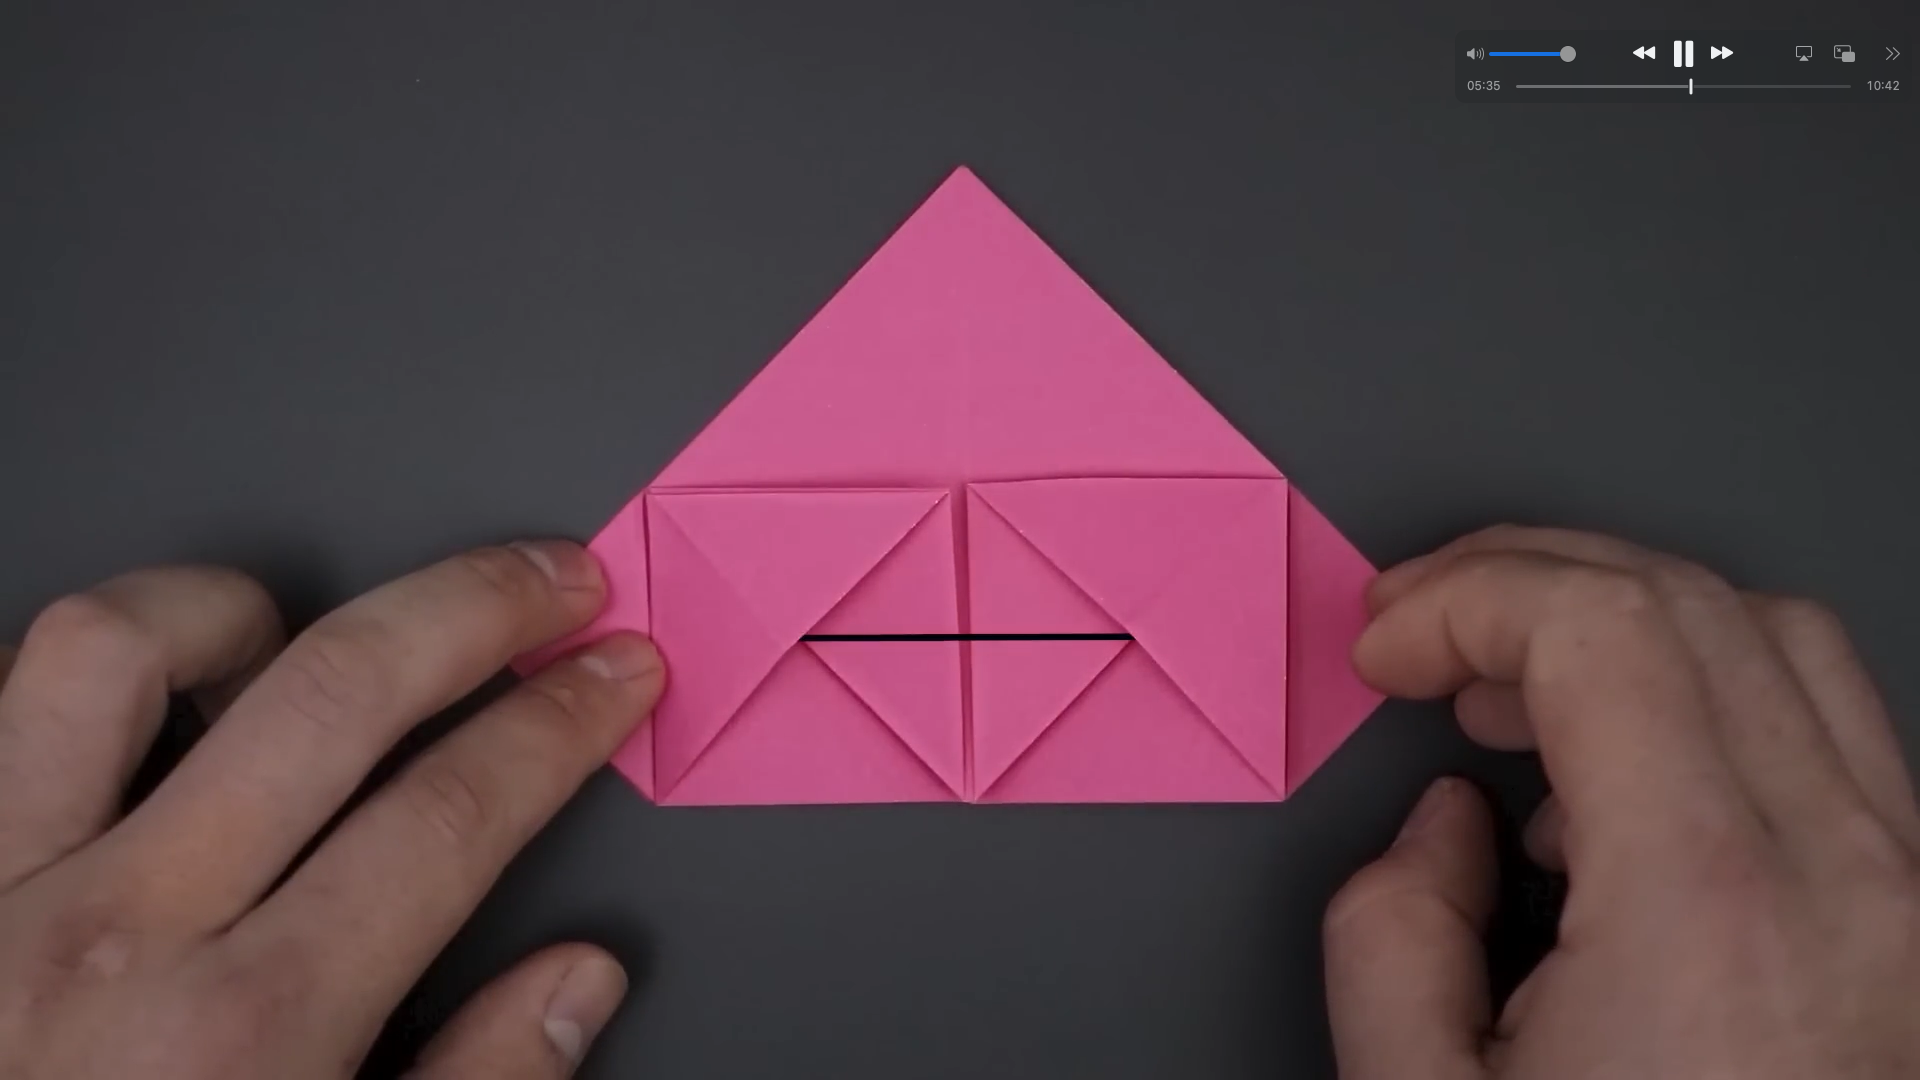
We can see from the diamon shape, two squares left inside. Fold each of those squares diagonally toward the middle, with the small triangle pointing up. Fold the triangle vertically so that it points down, and undo these last two folds.
After undoing those folds, we can notice a little pocket forming underneath the flap. Flatten this down.
Lastly we are left with a small triangular flap hanging down from the center, which we want to fold upwards.
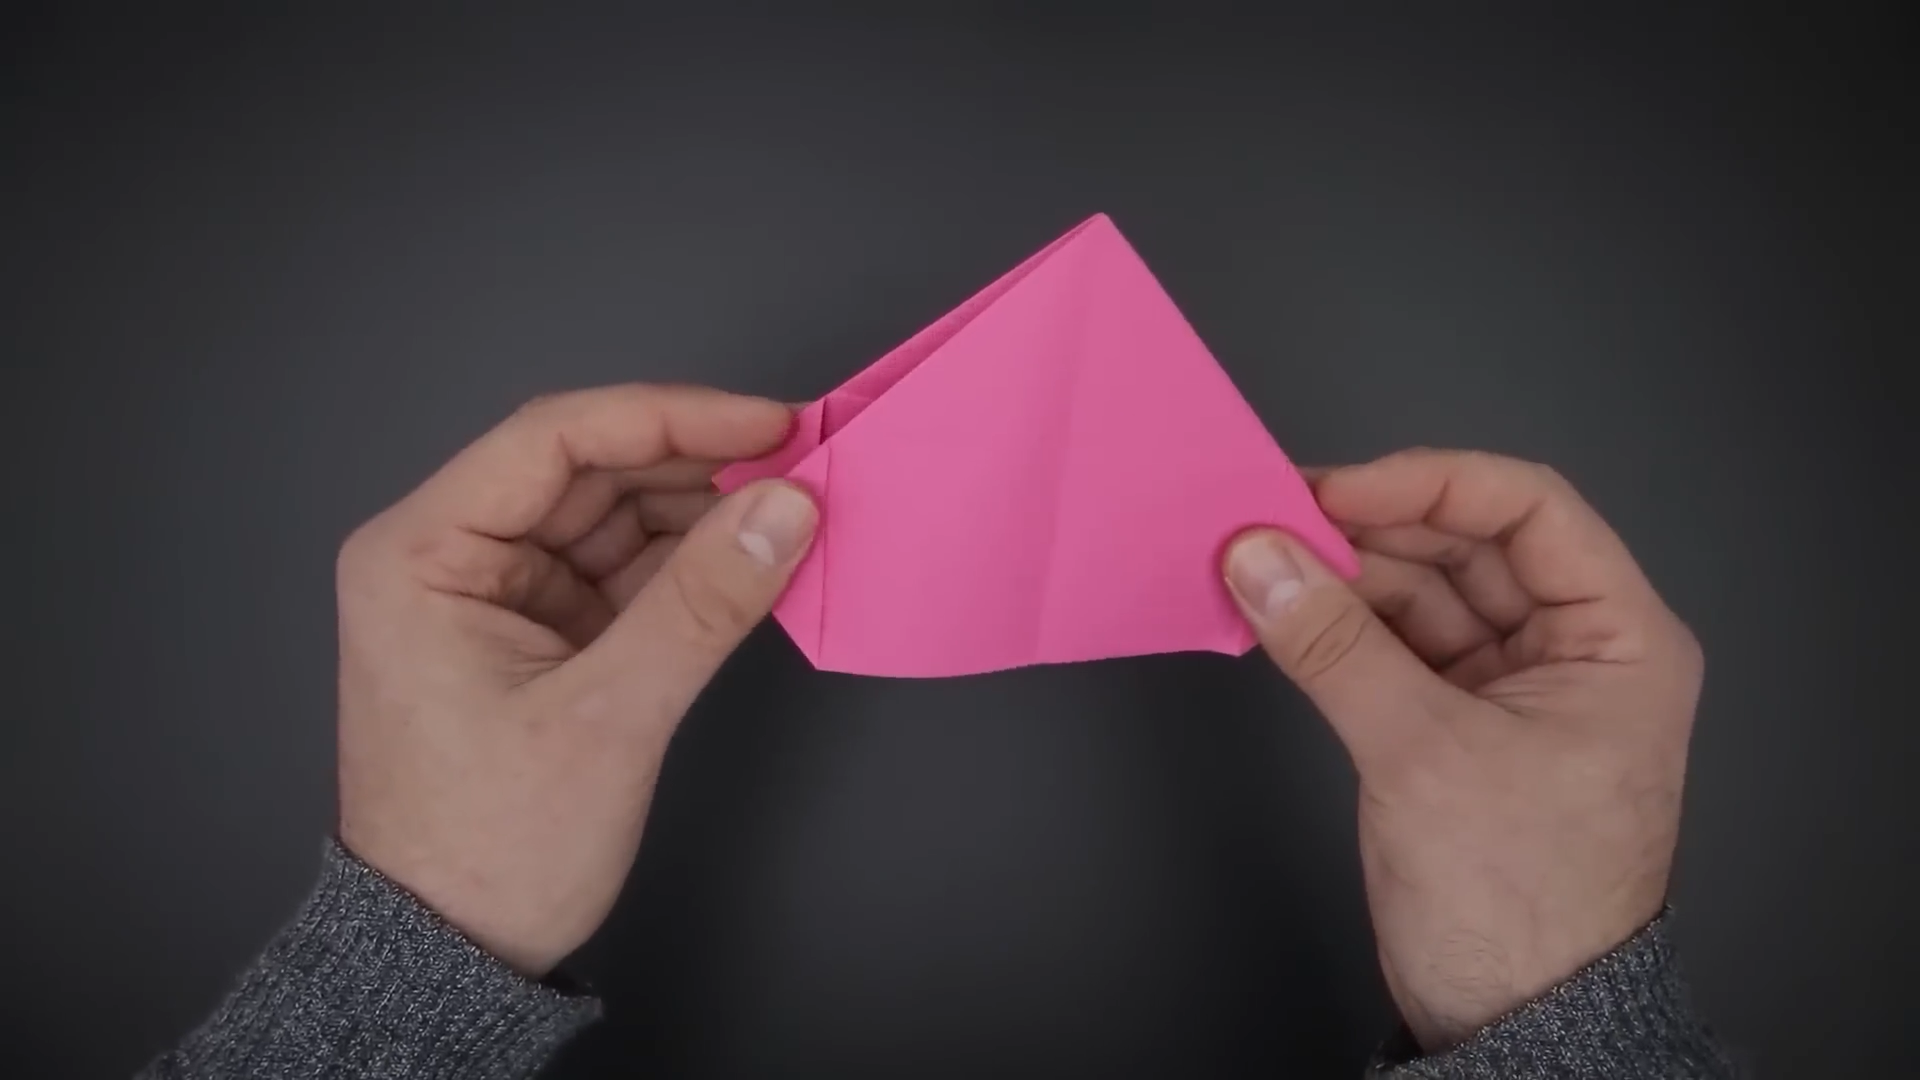
Flip the paper and repeat the previous 3 steps to the other side. Close the front and back sides so that the clean side of the heart with no folds is showing.
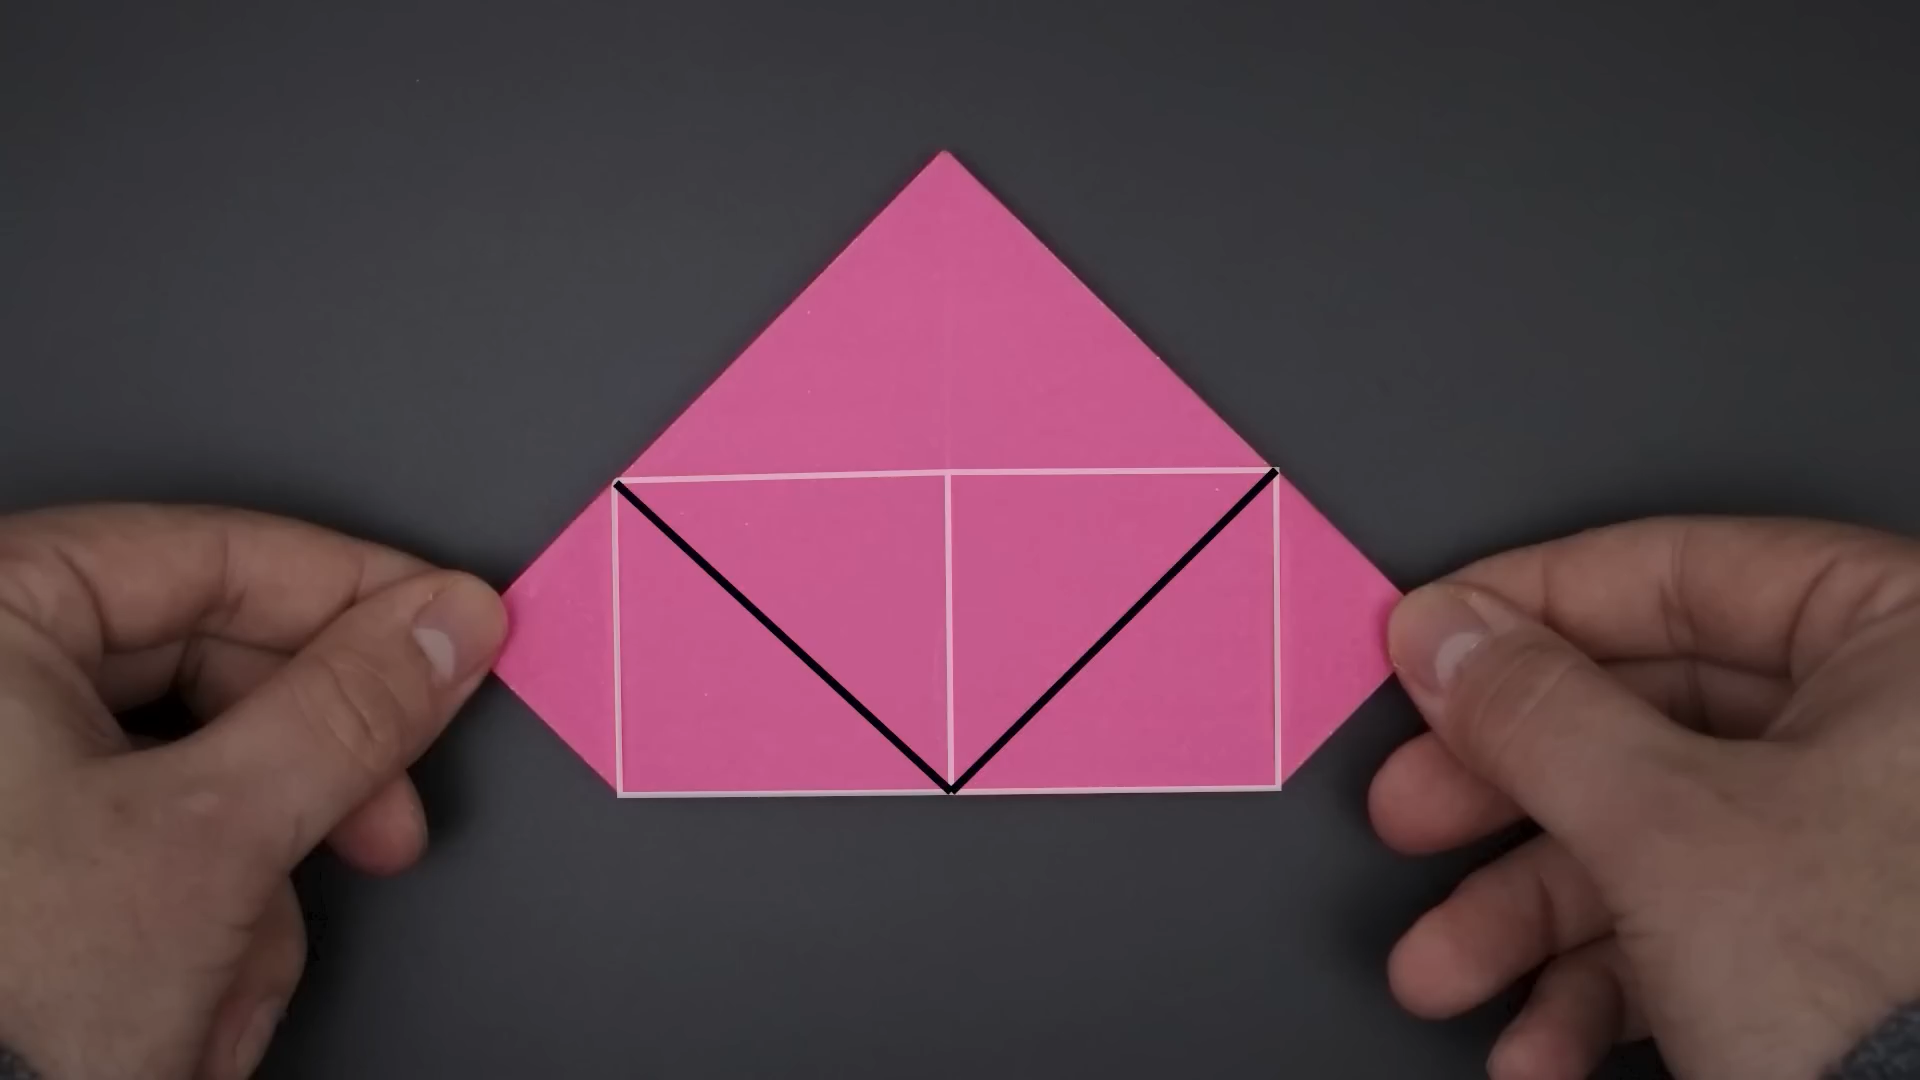
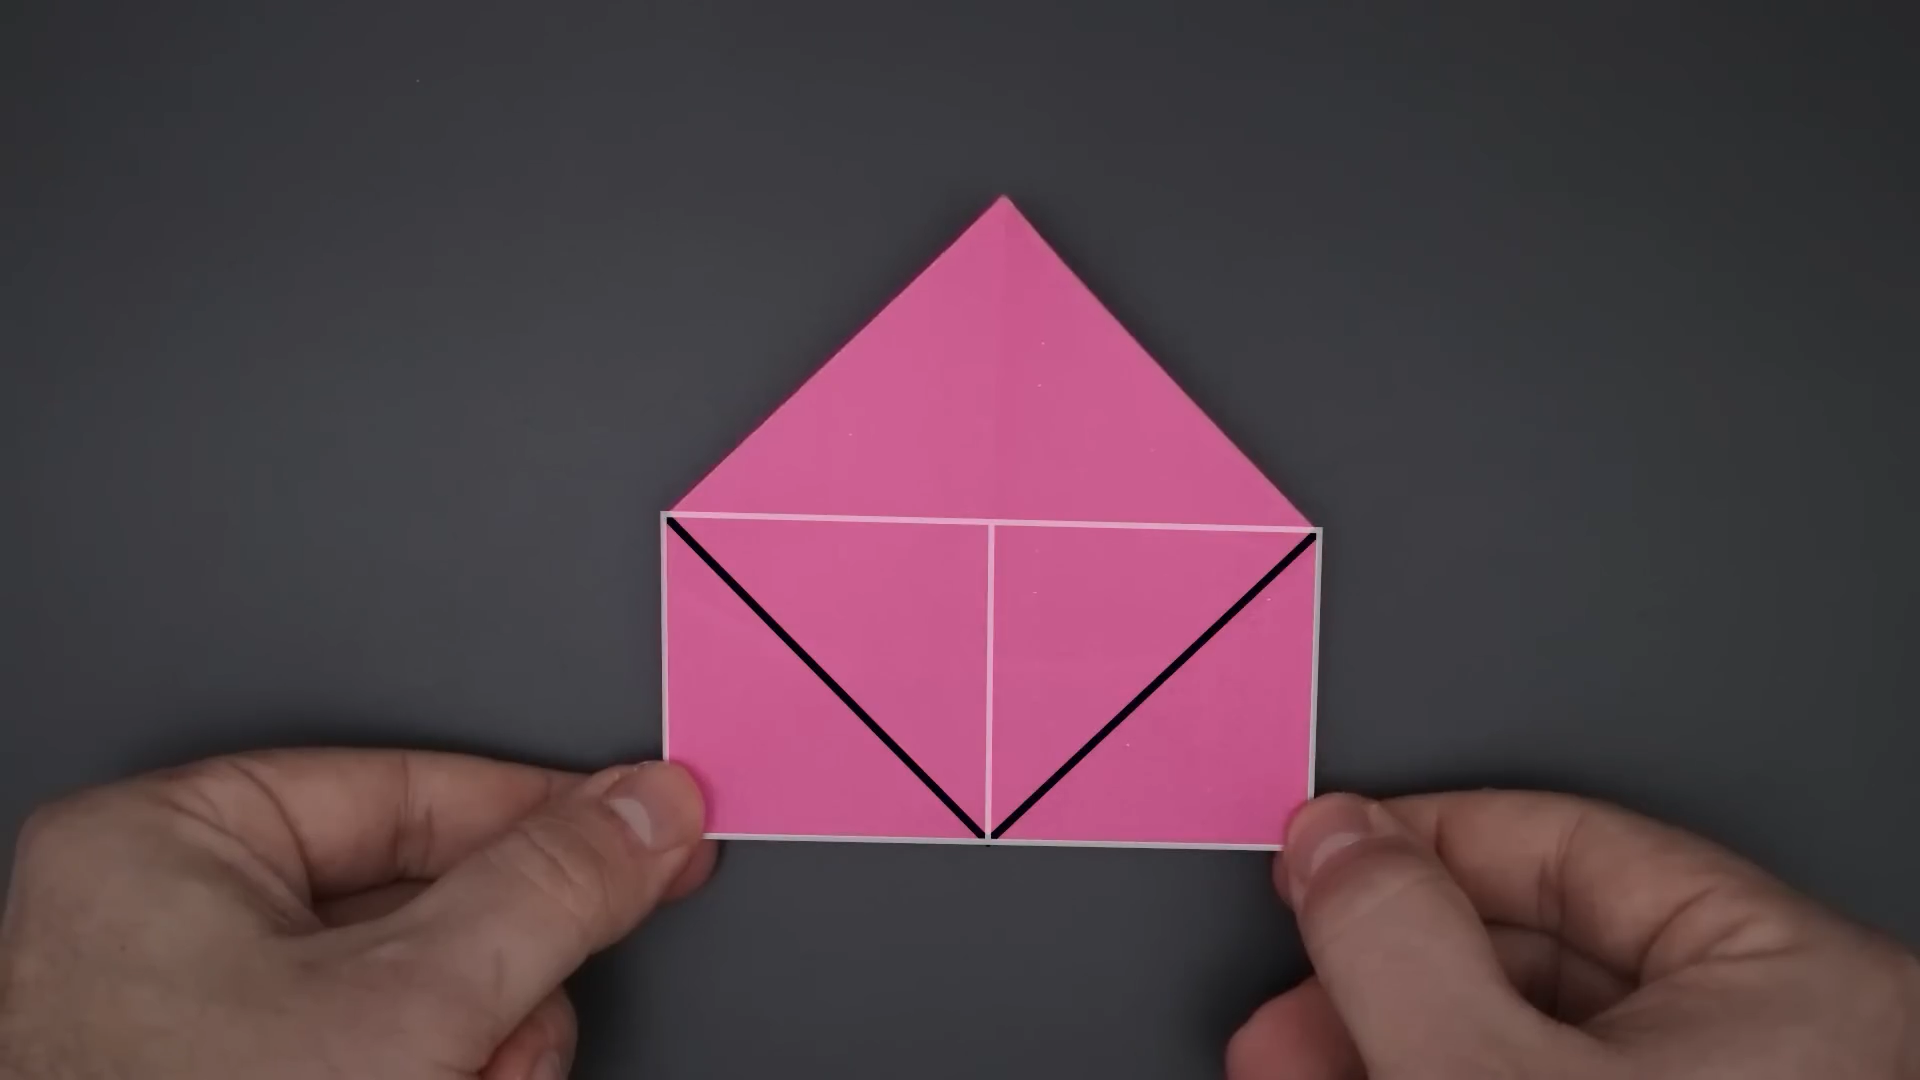
We can see two squares underneath the triangle, fold each of these squares diagonally toward the center, followed by folding the center triangle enderneath vertically.
Repeat the previous step for the other side.
Finishing Details
We have a base, but it doesn't look like a rose yet! Let's unfold it and put the final details to make it look real.
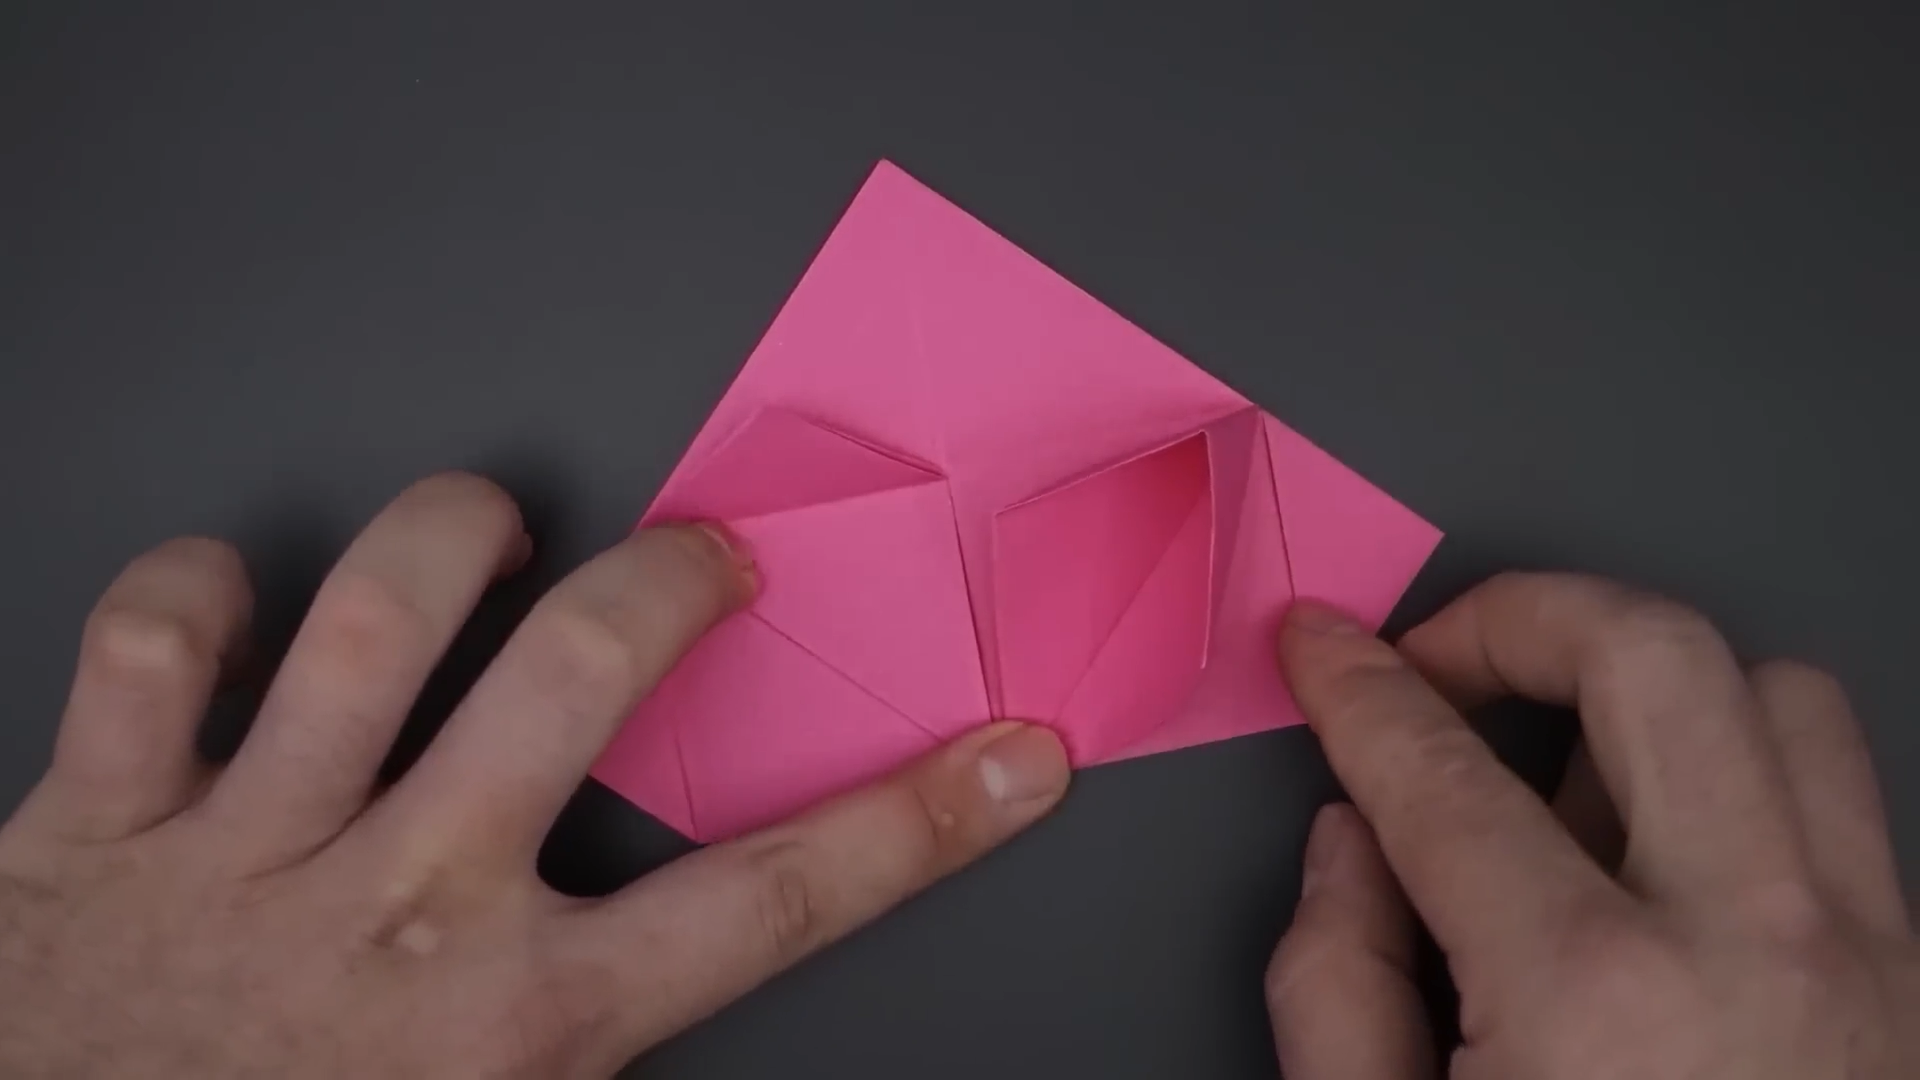
On the bottom of the rose, we see a small pocket. Begin opening this pocket out to flatten the bottom out, and while doing this, bring together the corners of the long flaps from the top and bottom until the bottom is flattened out.
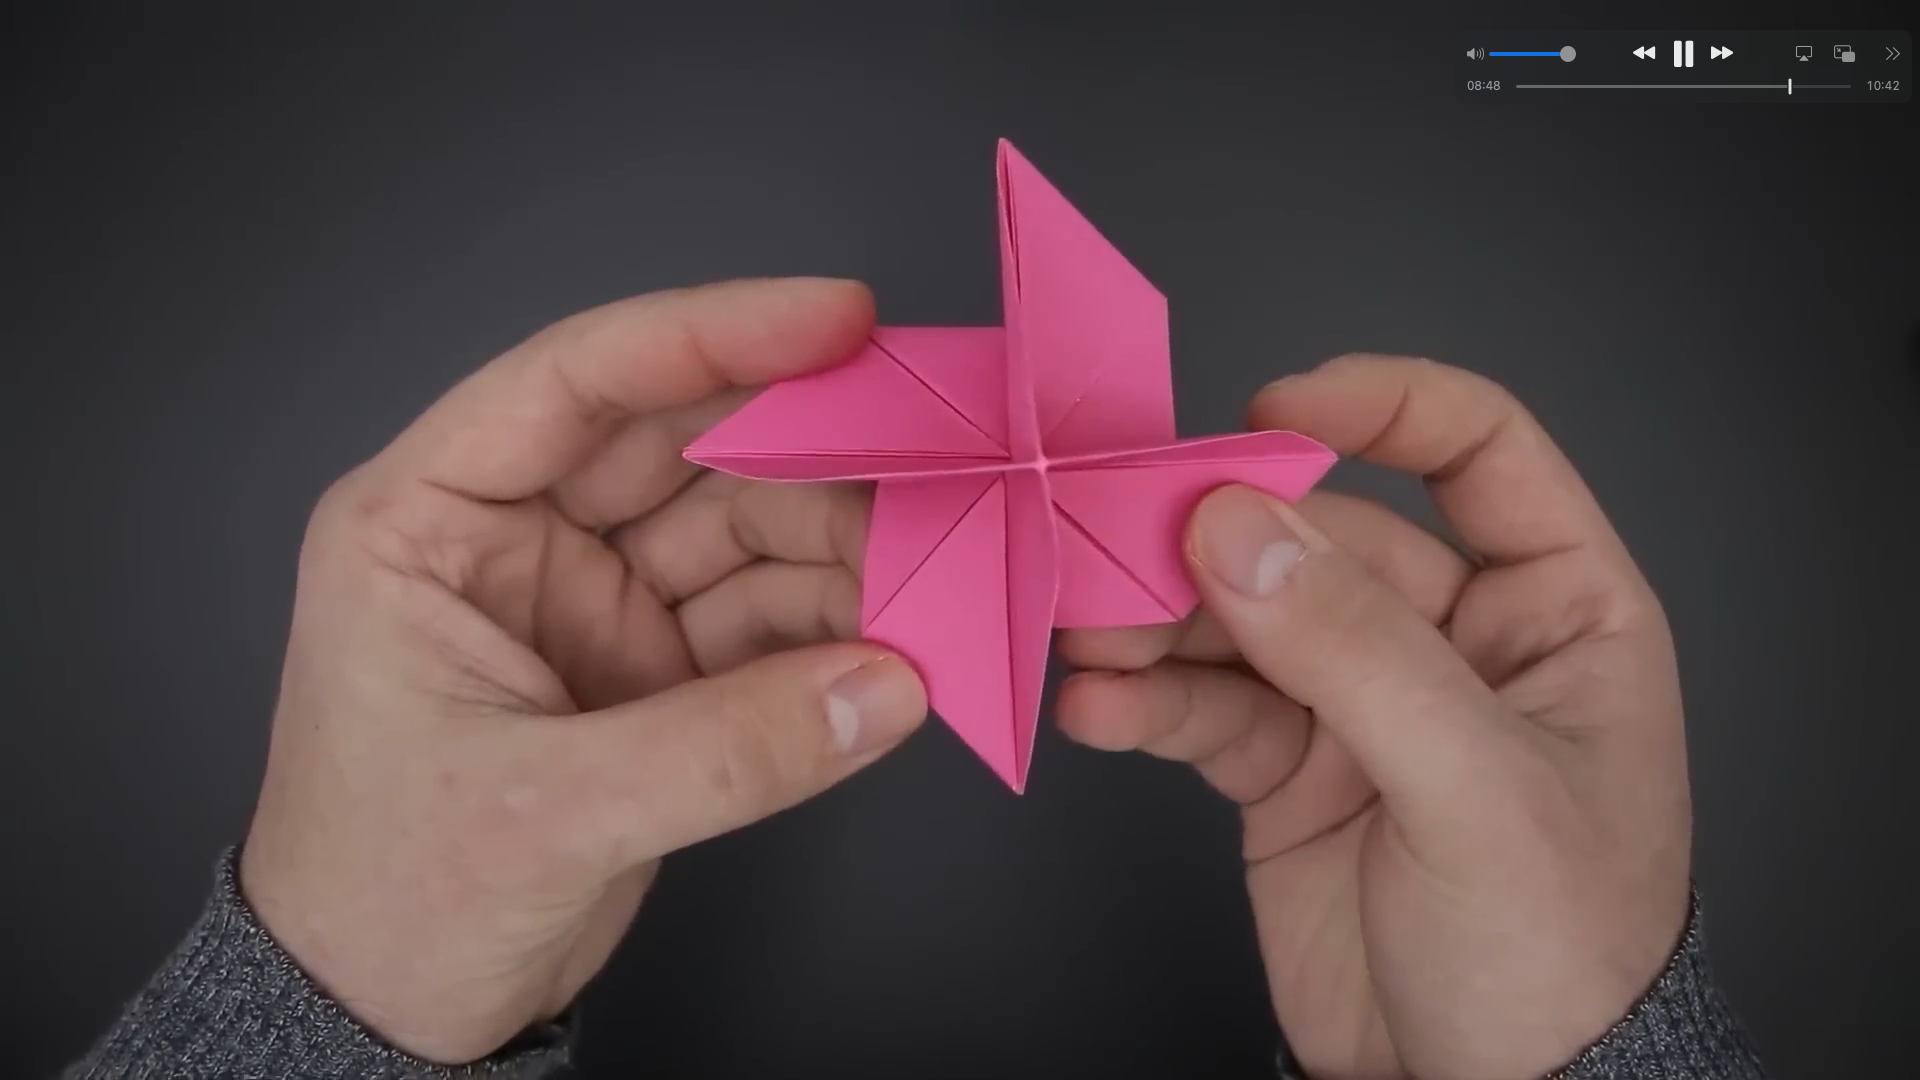
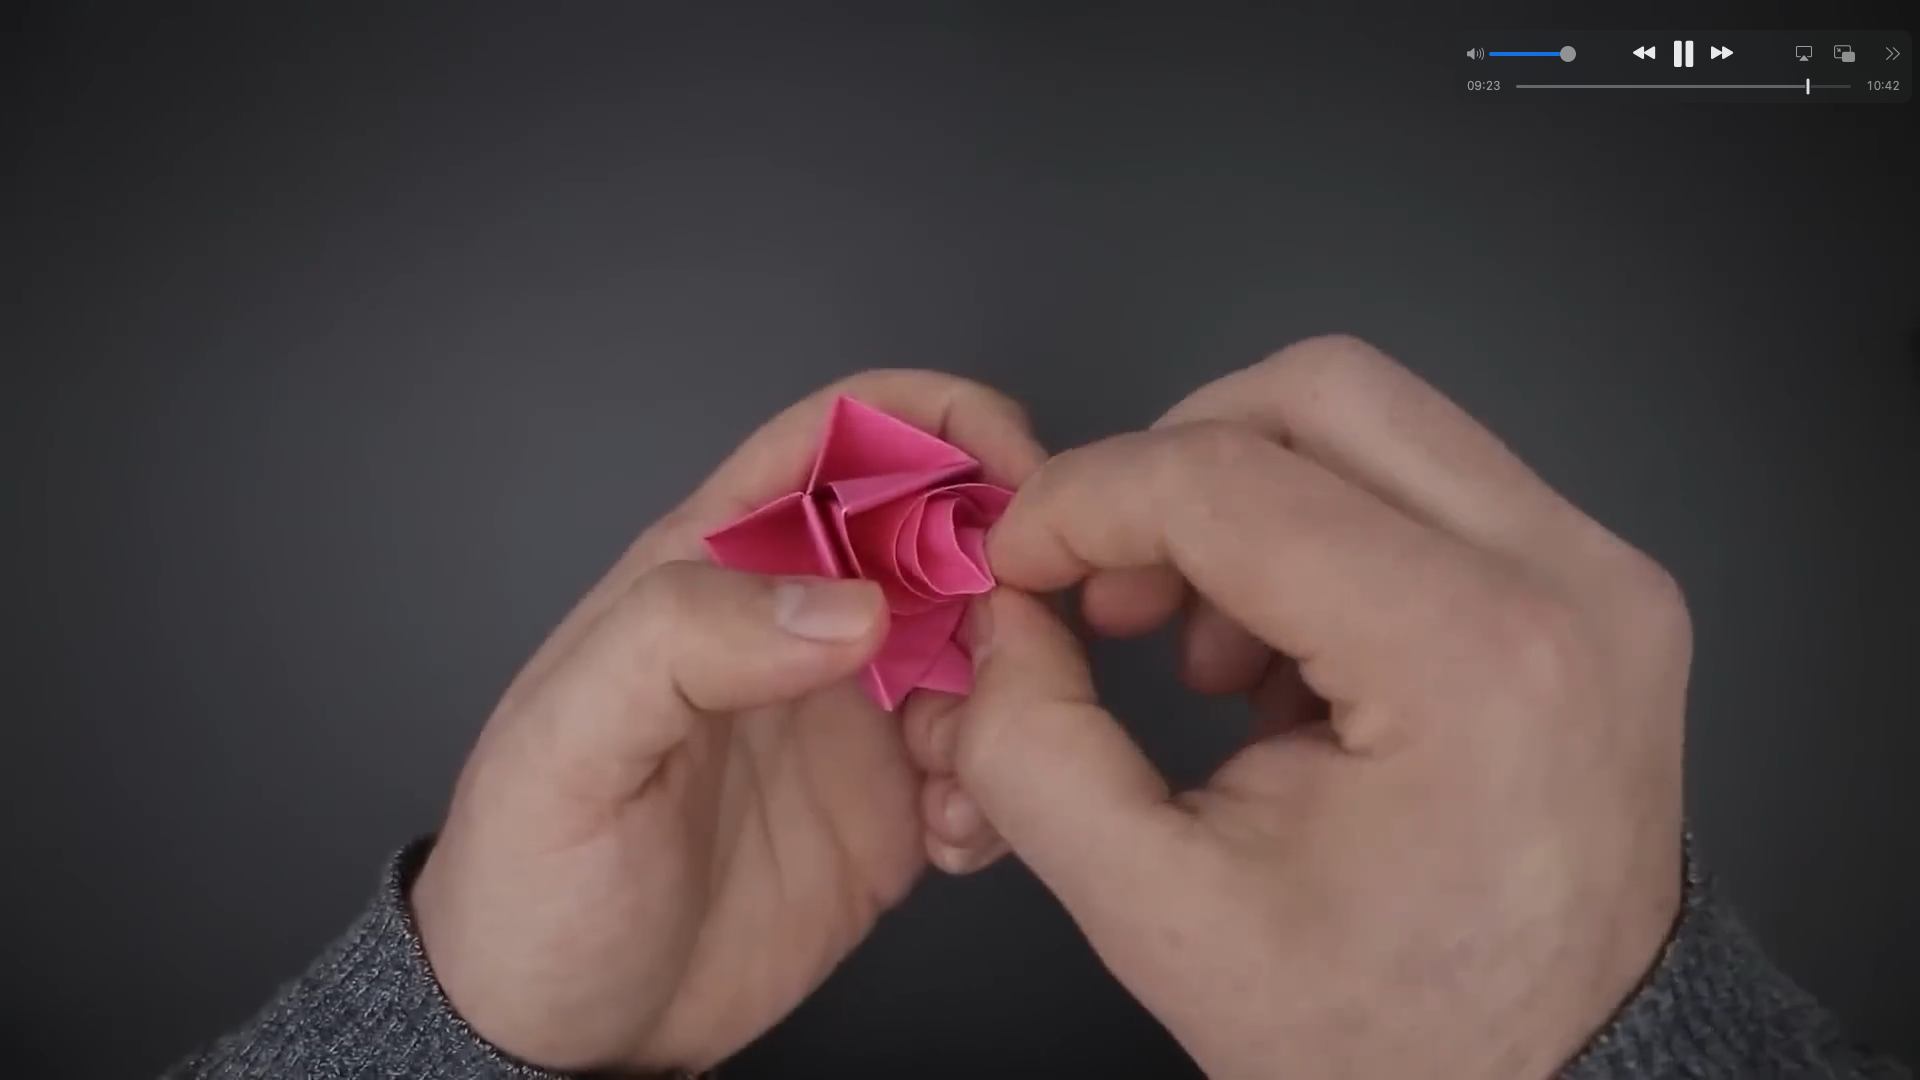
Flip the rose over and open up the flaps, it will begin to look like a propeller. Grab the tip of the center and begin twising gently in a counter-clockwise fashion to form the inside of the rose. Continue twisting until the rose shape forms.
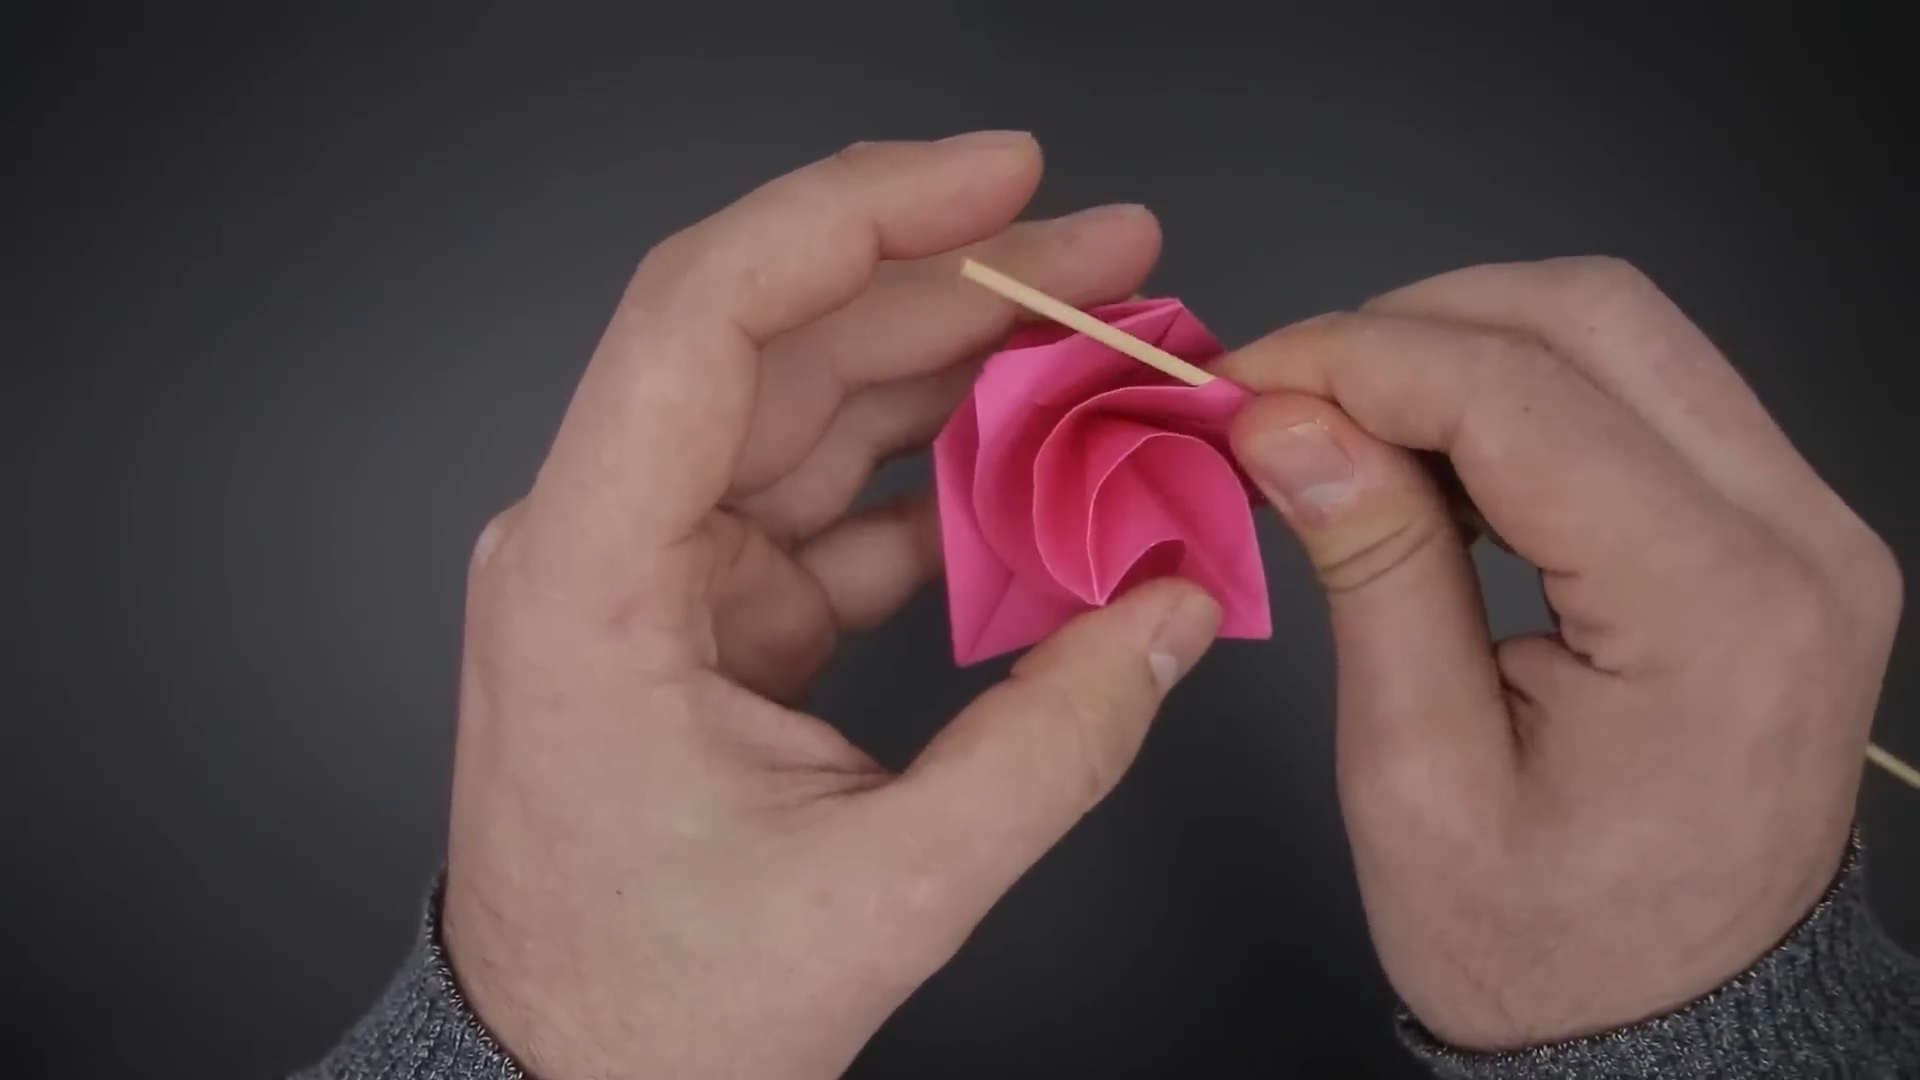
Optional: As a final touch, use a small circular object like a pencil or skewer to roll the petal flowers down at the corners to give a natural appearance.
Citations
Easy Origami (2022). Easiest Origami Rose Ever! - How to Fold - Valentine’s Day Gift. YouTube. https://www.youtube.com/watch?v=XxnntE_0T5Y